Guide · 9 min read
Getting Skin Tones Right in AI Portraits: A Practical Guide
How to get accurate, natural skin tones in AI portraits. Prompt language for different skin tones, common color casting problems, and film stock matching.
Published August 10, 2026 · Updated August 10, 2026
Skin tone is the make-or-break detail in AI portraits. Get it wrong and the portrait looks artificial — regardless of how good the lighting, composition, and styling are. This guide covers how to describe skin tones accurately in prompts, avoid common color casting problems, and match film stocks to different skin tones.
Why AI struggles with skin tones
AI models are trained on billions of images, but the training data is not evenly distributed. Lighter skin tones are overrepresented in the training data, which means:
- Lighter skin tones are usually rendered accurately by default
- Medium and deeper skin tones may be rendered too light, too red, or too flat
- Color grading (especially teal-orange) can distort skin tones unevenly
- Film stock references were designed for lighter skin tones and may not flatter deeper skin
The solution is specificity. The more precisely you describe the skin tone, the less the model has to guess.
How to describe skin tones in prompts
Use specific, descriptive language
Bad: "Beautiful skin" or "dark skin" or "light skin"
Good: Use specific descriptions that combine undertone, depth, and texture:
| Skin tone | Prompt language |
|---|---|
| Fair with cool undertones | "Fair skin with cool pink undertones, slight flush on cheeks, visible freckles across nose" |
| Fair with warm undertones | "Fair skin with warm peach undertones, light freckles, natural rosiness" |
| Light with neutral undertones | "Light skin with neutral undertones, even complexion, subtle warmth" |
| Medium with warm undertones | "Medium skin with warm golden undertones, even tone, natural radiance" |
| Medium-deep with olive undertones | "Medium-deep skin with olive undertones, rich warm tone, subtle golden highlight" |
| Deep with warm undertones | "Deep skin with warm red undertones, rich and luminous, natural highlight on cheekbones" |
| Deep with cool undertones | "Deep skin with cool blue undertones, rich and even, subtle blue-black sheen" |
Include texture details
Skin is not just color — it is texture. Always include:
- Pores: "visible pores, natural skin texture"
- Imperfections: "subtle freckles, slight blemishes, natural asymmetry"
- Highlights: "natural highlight on cheekbones and nose bridge"
- Shadows: "soft shadows in the hollows of cheeks and under jawline"
Without texture instructions, the model produces smooth, plastic-looking skin regardless of tone. Read our AI portrait prompt guide for a framework that keeps texture instructions specific.
Film stocks and skin tones
Film stocks were designed with specific skin tones in mind. Choosing the right film stock reference can dramatically improve skin tone accuracy.
Kodak Portra 400 — The safe choice
Warm, flattering, and natural across all skin tones. Slightly enhances warmth, which flatters light to medium-deep skin. May add too much warmth to already-warm deeper skin tones.
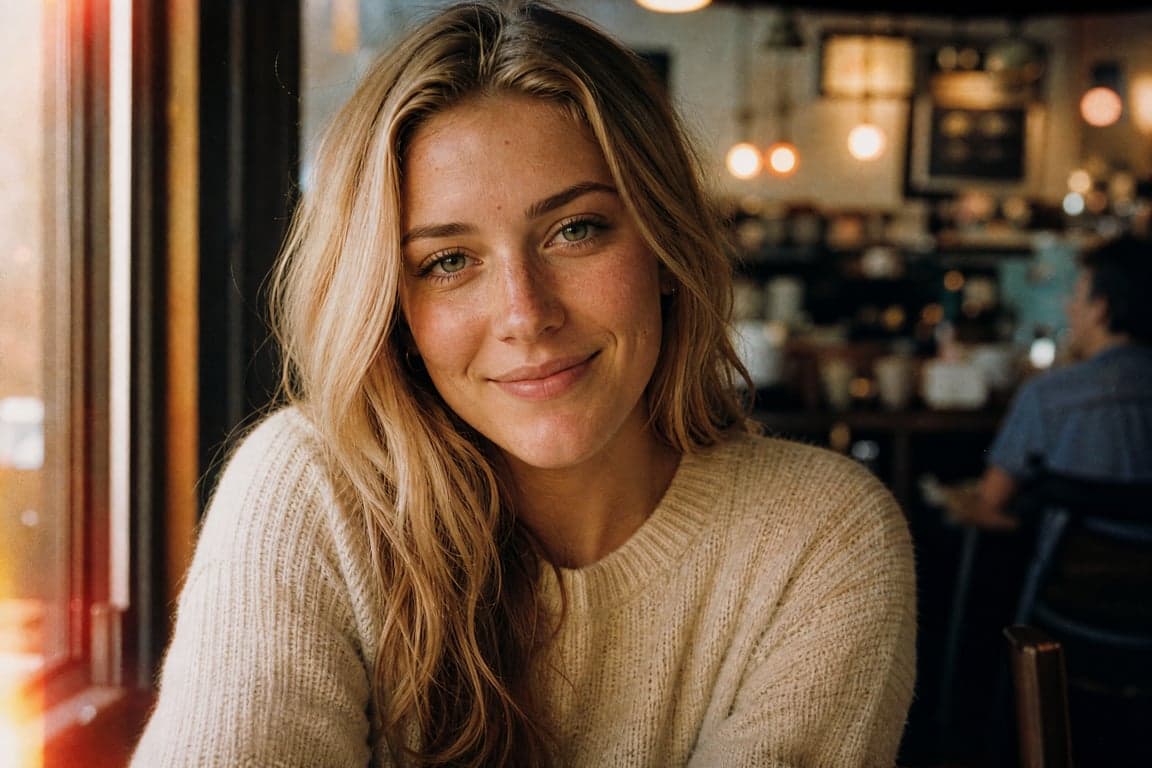
Best for: Light to medium-deep skin tones. Our 35mm Film Grain Portrait uses this stock.
Fujifilm Pro 400H — Cool and clean
Cool, slightly green undertones. Flatters medium and olive skin tones. Can make fair skin look slightly washed out. Excellent for editorial and fashion.
Best for: Medium, olive, and cool-undertone skin.
CineStill 800T — Warm and cinematic
Tungsten-balanced with warm highlights and red halation. Can over-emphasize redness in lighter skin tones. Flatters deeper skin tones beautifully — the warmth adds richness without distortion.
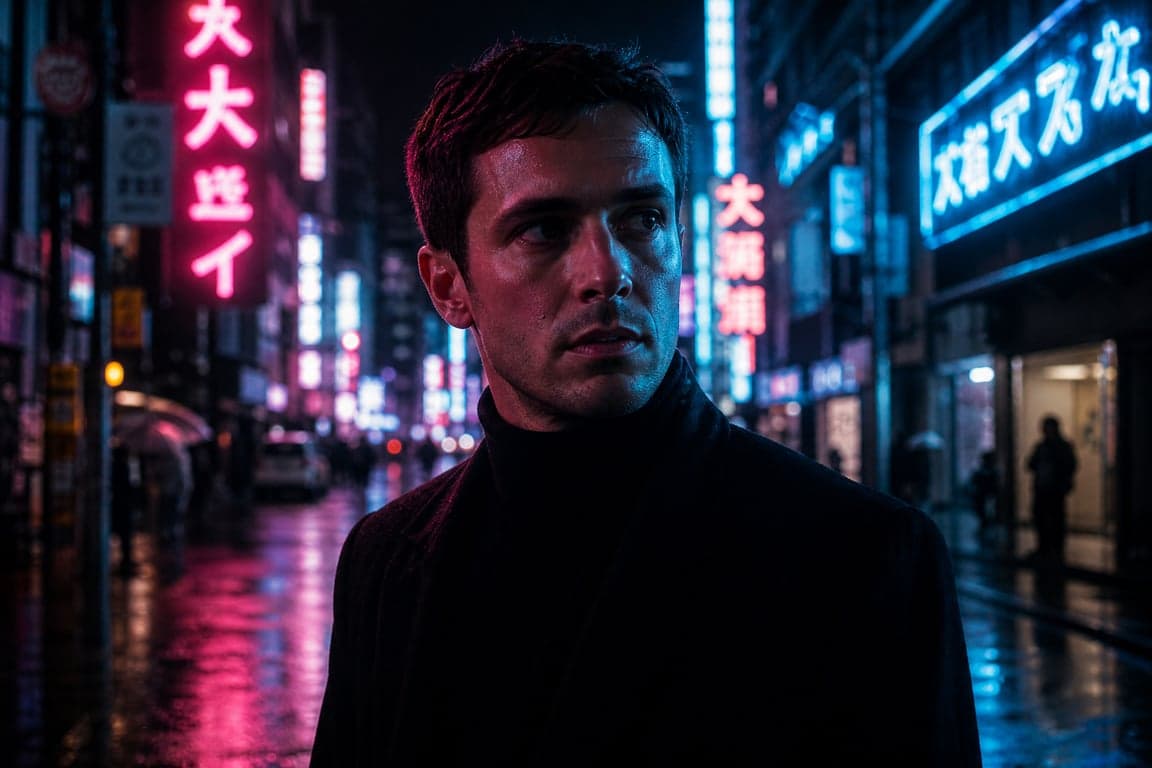
Best for: Deeper skin tones, night portraits, neon-lit scenes. Pairs well with the Neon City Night Portrait.
Kodak Gold 200 — Warm and nostalgic
Very warm, slightly yellow. Flatters light to medium skin tones with warm undertones. Can make cool-undertone skin look sallow. Best for vintage and nostalgic looks.
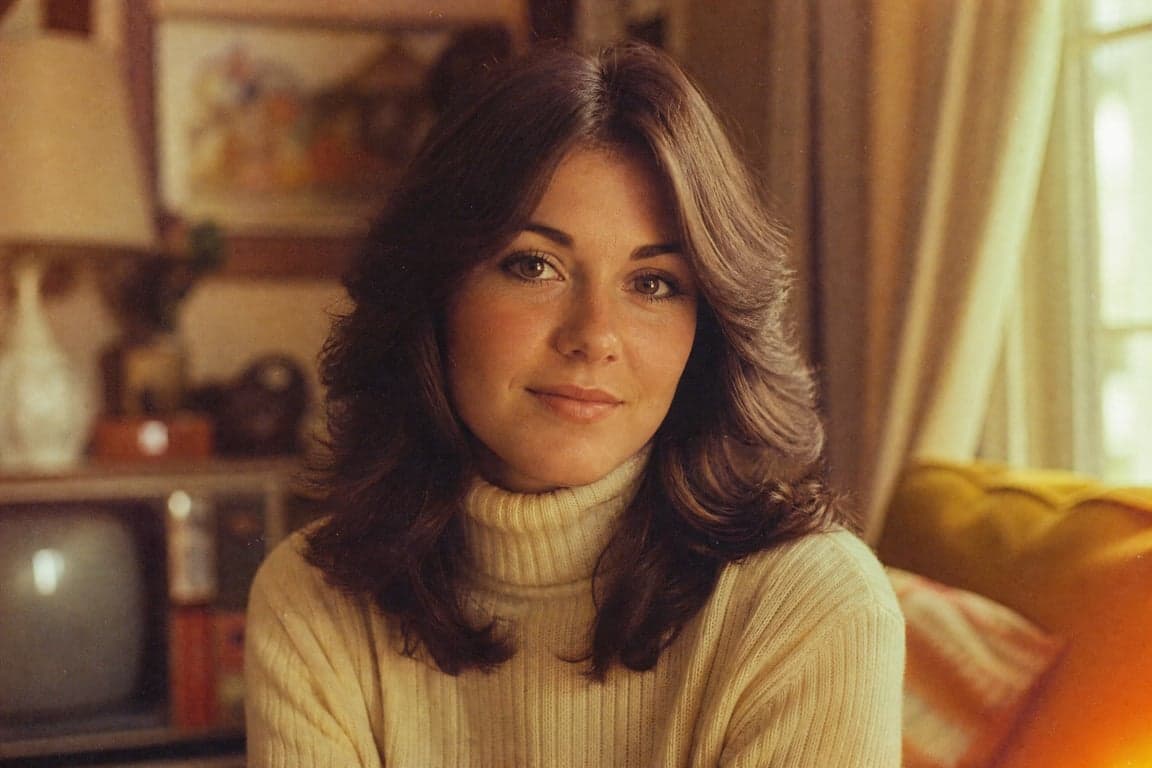
Best for: Light to medium warm-undertone skin. Our Vintage 70s Film Portrait uses this stock.
Ilford HP5 (B&W) — Universal
Black and white film with strong contrast and grain. Skin tone accuracy is less of an issue in monochrome, but contrast matters. Deep skin tones need careful contrast control to avoid losing detail in shadows.
Best for: All skin tones in black and white. Our B&W Film Noir Portrait is designed for this stock.
Common skin tone problems and fixes
Problem 1: Redness in lighter skin
Cause: The model over-saturates warm tones, making fair skin look flushed or sunburned.
Fix: Add "neutral skin tones, reduced redness in cheeks, even complexion." Switch from Kodak Gold 200 to Kodak Portra 400 or Fujifilm Pro 400H.
Problem 2: Ashiness in deeper skin
Cause: The model under-saturates deeper skin tones, making them look gray or ashy.
Fix: Add "rich warm undertones, luminous skin, natural golden highlight on cheekbones." Use CineStill 800T or add "warm undertones preserved" to the prompt. Avoid high-key lighting, which can wash out deeper skin — read our cinematic portrait guide for lighting that flatters deeper skin tones.
Problem 3: Over-smoothing
Cause: The model removes all texture, creating a plastic, waxy look. This affects all skin tones but is more noticeable on deeper skin.
Fix: Add "natural skin texture, visible pores, subtle imperfections, realistic skin detail." Never use the words "smooth," "flawless," or "perfect" in a portrait prompt.
Problem 4: Color casting from environment
Cause: Green grass, blue sky, neon lights, or colored walls cast their color onto the skin. This is realistic in photography but can look wrong in AI portraits.
Fix: Add "accurate skin tones, no color casting from environment, white balance corrected for natural skin reproduction." Or change the environment to a neutral-colored setting.
Problem 5: Teal-orange grade distorting skin
Cause: The popular teal-and-orange color grade shifts shadows toward teal (affecting deeper skin) and highlights toward orange (affecting lighter skin). This can create unnatural skin tones.
Fix: Add "skin tones protected from color grade, natural skin color preserved." Or use a gentler grade: "subtle warm shadows, natural skin tones, gentle contrast." Our cinematic portrait guide covers restrained color direction.
Lighting and skin tones
Lighting interacts with skin tones differently. Here is a quick guide:
| Skin tone | Best lighting | Avoid |
|---|---|---|
| Fair | Soft, diffused light. Avoid hard direct sun (creates redness). | High-key overexposure (washes out) |
| Light | Natural window light, golden hour. | Cold fluorescent (adds green) |
| Medium | Golden hour, warm directional. | Cold blue light (looks ashy) |
| Medium-deep | Warm directional, Rembrandt. | Flat even light (loses dimension) |
| Deep | Strong directional with warm fill. Rim light adds beautiful highlight. | Low-key with no fill (loses detail in shadows) |
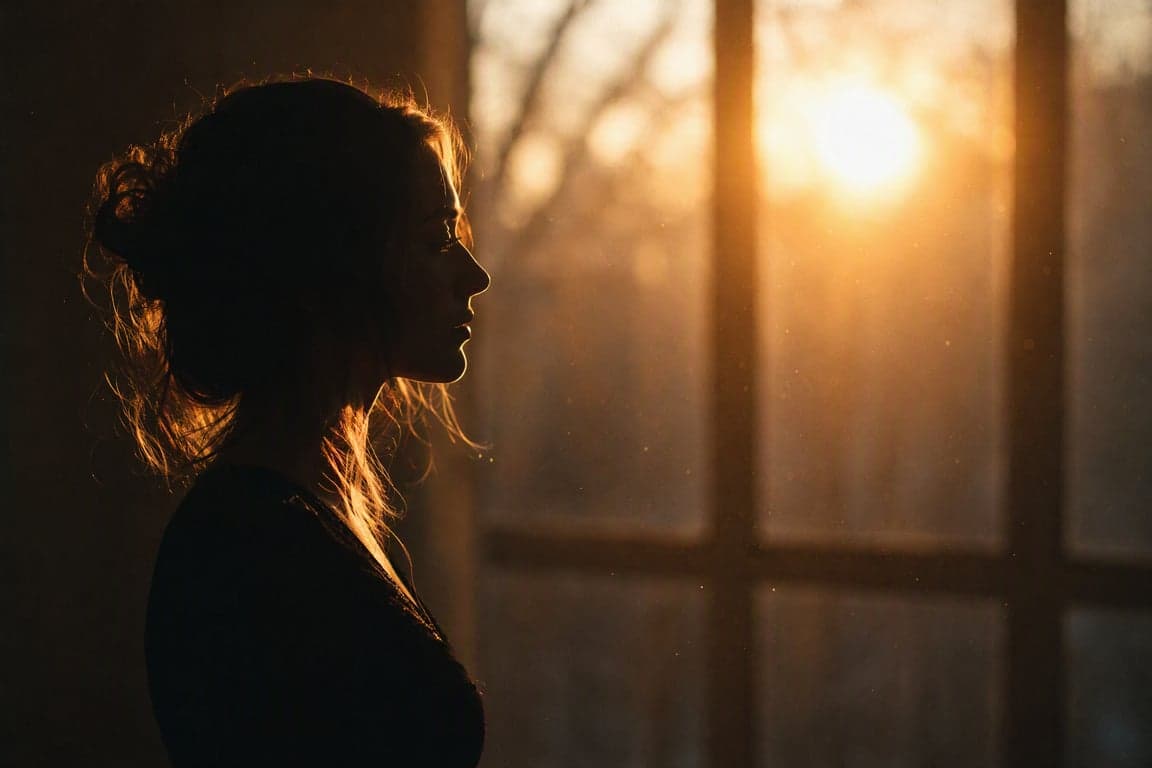
For deeper skin tones, rim light and backlight are especially effective — they create a beautiful luminous edge that separates the subject from the background. The Backlit Silhouette Portrait demonstrates this beautifully.
A complete skin tone prompt example
Here is how skin tone language fits into a complete prompt:
"A confident woman with deep skin and warm red undertones, rich and luminous complexion, natural golden highlight on cheekbones, visible pores and subtle freckles, natural skin texture preserved. Wearing a cream silk blouse. Standing in a warmly lit interior with soft amber light. CineStill 800T color science, warm highlights, natural skin tones protected from color grade. 85mm lens, f/2.8, shallow depth of field. Warm directional light from camera left, soft fill from the right. Fine film grain, tack-sharp eyes."
Notice: the skin tone description comes first (in the subject layer), the film stock is chosen for deeper skin (CineStill 800T), and "natural skin tones protected from color grade" prevents color distortion.
Start with tested prompts
All our prompts are tested across diverse skin tones. Browse the full gallery and customize the skin tone description in the subject layer while keeping the lighting, camera, and color instructions intact.
For the complete prompt framework, read our AI portrait prompt guide.
Back to all guides